As a follow on to the earlier tutorial How to set up a Selenium Grid for Remote WebDriver Execution, in this tutorial we are going to set up a small Linux Virtual Machine (VM) for running remote WebDriver tests via Selenium Grid. Broadly the steps involved are:
- Acquire and Install Virtual Machine Software
- Create a virtual machine and install Linux on to it
- Further customise the VM. Download and set up the required software
o Web Browsers (Google Chrome/Chromium)
o Java Runtime Environment
o Selenium Driver Servers (ChromeDriver, GeckoDriver)
o Selenium Standalone Server (Grid)
- Use the Grid
Step 1 – Acquire and install Virtual Machine Software
If you’ve not encountered the concept of a Virtual Machine before it essentially allows you to run a computer inside another computer. The computer that runs the VM software is commonly referred to as the Host, whereas the machine emulated inside the VM software is referred to as the Guest.
For this tutorial the Host machine will be running Windows 10, while the Guest will be running a light(ish) weight version of Linux.
The primary reason for using a VM in our case is that we don’t need to acquire an entirely separate physical machine, saving workspace. There are other advantages included but not limited to:
- Being able to take snapshots of a VM “freezing” that VMs configuration and files at that point. If mistakes are made this allows us to “roll back” to that snapshot at any future time. This is much harder to achieve with real systems.
- Being able to “clone” the VM, moving it to other systems, instantly creating any number of identically set up systems.
- VMs can provide a “safe” environment for experimentation. If you break something, just make another VM (or roll back to an earlier snapshot)
However the Host machine will need to share some of its resources (RAM, File Storage Space, CPU time) with the Guest, meaning the host will need to have sufficient resources to cover both itself and the Guest. For example, as a minimum I’d suggest your host has 6GB of RAM, and at least a dual core processor.
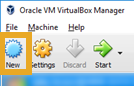
First we’ll need some virtualisation software. VirtualBox from Oracle is both free and available for multiple platforms (Windows/Mac/Linux), though other virtualisation software e.g. VMWare, QEMU, Parallels(MacOS) is also available.
- Download VirtualBox from https://www.virtualbox.org/wiki/Downloads
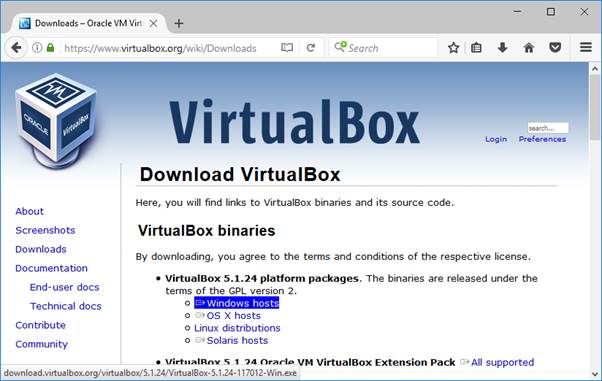
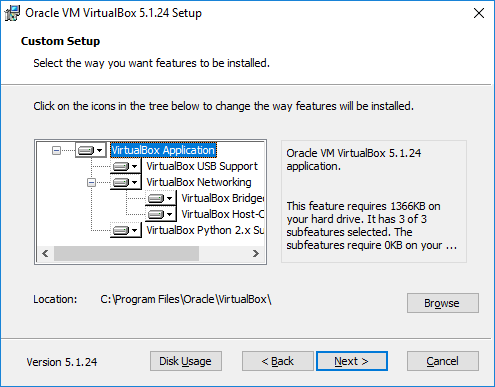
- Once downloaded, run the setup executable and click through the installer. The default settings are fine.
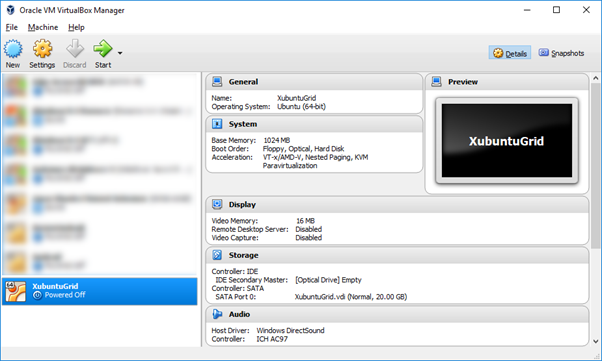
- Once installed, open VirtualBox and you should see something like this:
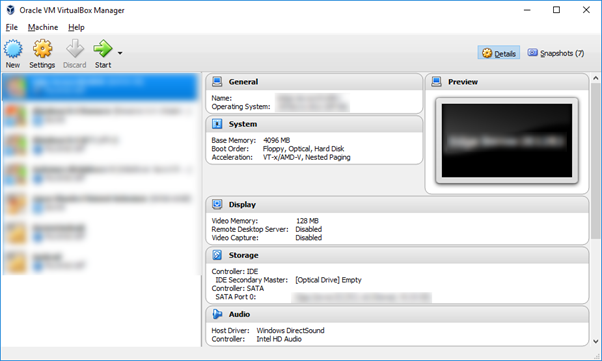
But without the other VMs I have set up for various purposes. Beware VMs can be addictive!
Step 2 – Selecting and Downloading a Linux Distribution
A Linux distribution (often abbreviated as distro) is an operating system made from a software collection, which is based upon the Linux kernel and, often, a package management system. Linux users usually obtain their operating system by downloading one of the Linux distributions
Many different companies provide Linux Distributions. Some of the best known are Red Hat (Red Hat Enterprise, Fedora), SUSE (openSUSE) and Canonical (Ubuntu). When selecting a distribution for use with Selenium Grid it’s typically advisable to choose a very “lightweight” (barebones) distribution and/or customise it that way, as any additional resources the operating system distribution uses are resources unavailable for test execution with Selenium Grid. However my assumption for this tutorial is that the reader may not be familiar with Linux so we’ll choose something a little heavier, but potentially more friendly and familiar to Windows and Mac users.
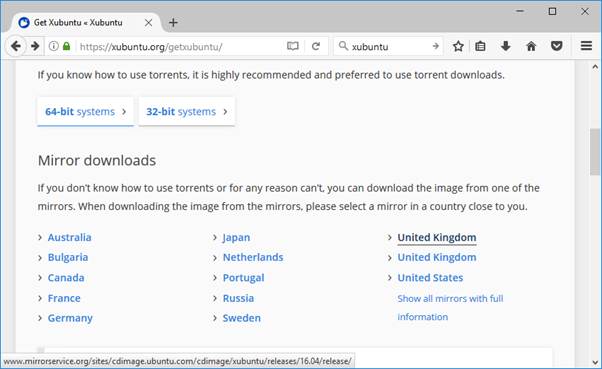
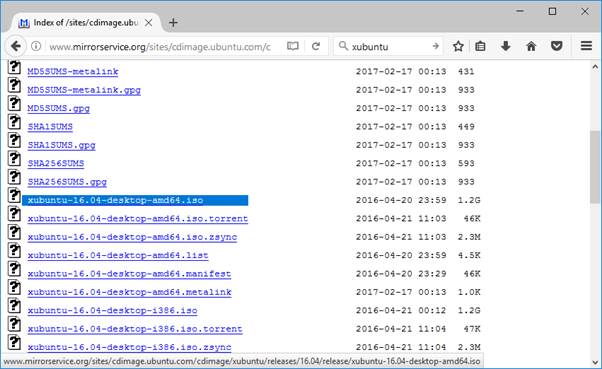
Xubuntu is a community developed variant of the popular Ubuntu Linux Distribution. Its desktop environment is little less resource hungry than Ubuntu, but still easy to use. A Xubuntu installation image can be downloaded from https://xubuntu.org/getxubuntu/ . I’ve selected the 64bit edition of the LTS (Long Term Support) release from the UK Mirror. It’s a large (1.2GB) and may take a while to download depending on your connection speed.
The 32bit edition would also work, but the popular web browser Google Chrome is now only available for 64bit Linux systems (the open source version of Google Chrome –called Chromium– is available for 32bit Linux systems, and should behave the same as Google Chrome).
- Download Xubuntu
Step 3 – VM Setup
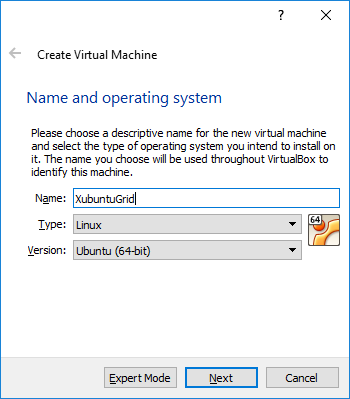
- With the ISO safely downloaded it’s time to create a new VM in VirtualBox.
- Give the VM a name
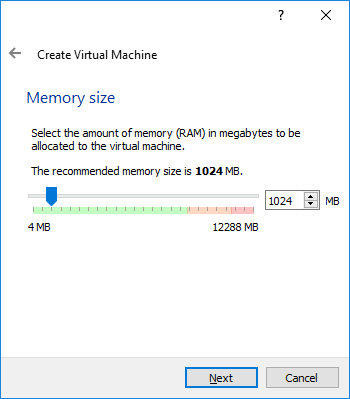
- The default 1GB of RAM is sufficient, but if your host machine has plenty of memory, consider doubling the amount.
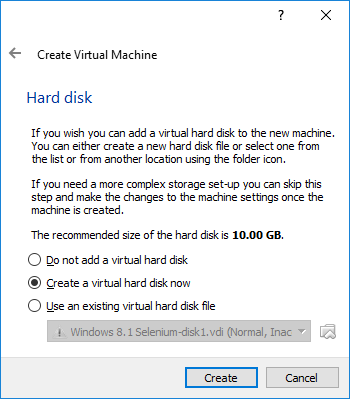
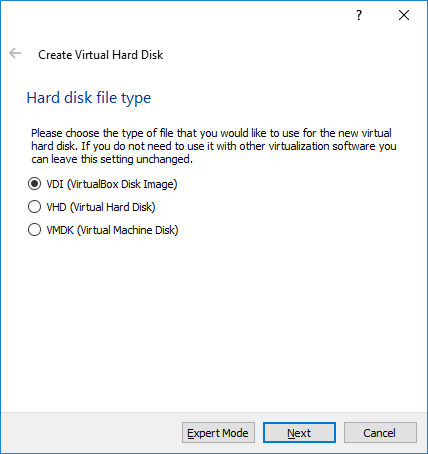
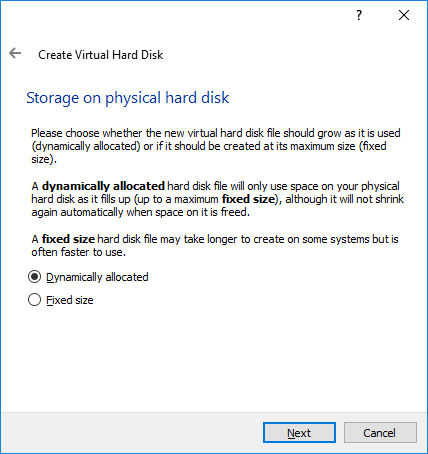
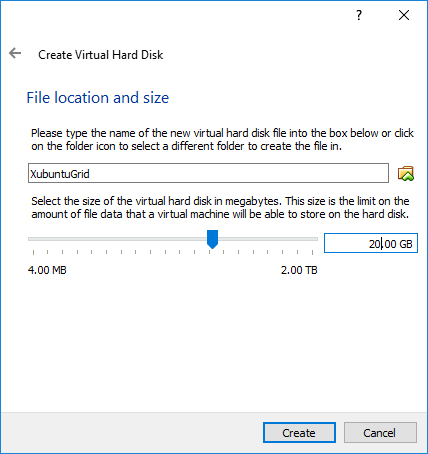
- Next create a hard drive image for the VM. Although 10GB is suggested as a sensible default (and it is!) I chose to increase the size to 20GB. This didn’t require any extra initial space on my host machine however as the disk image is “Dynamically Allocated”. The disk image starts small, and as more and more data is added it grows as required dynamically to the maximum specified 20GB size.
After Create is clicked the VM is nearly ready to go.
- Next the Xubuntu installation ISO needs to be attached to the VM. With the VM selected choose “Settings” from the toolbar, then navigate to the “Storage” page.
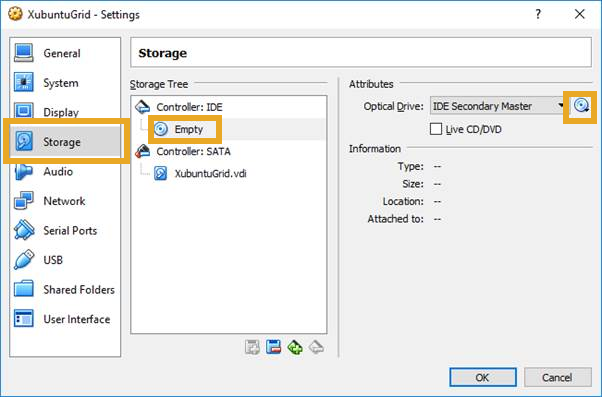
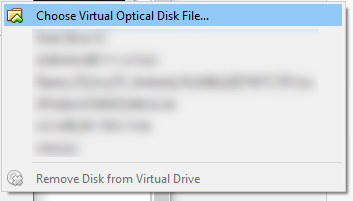
- Choose the “Empty” CD, then select the ISO using the CD drop down.
- Once done, select “OK”, then start the VM
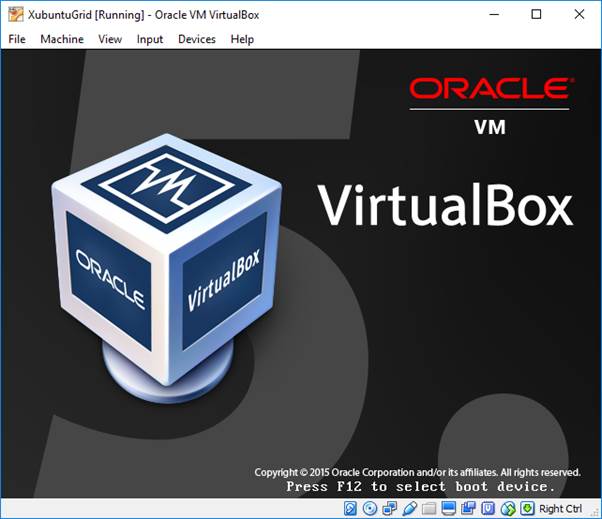

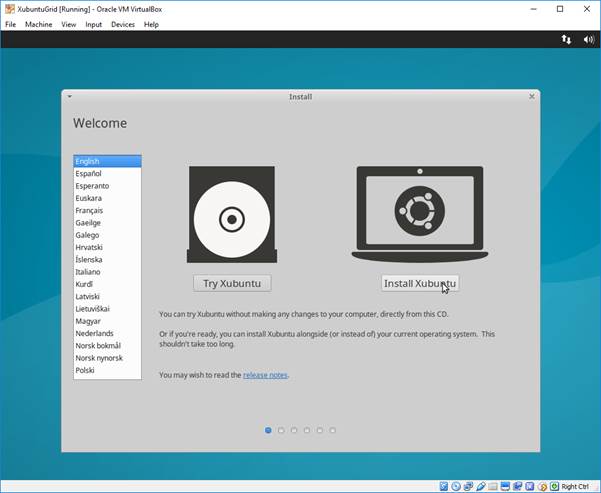
If all has gone well, after a minute or so you should be greeted by the Xubuntu installation wizard
Step 4 – Installing Xubuntu
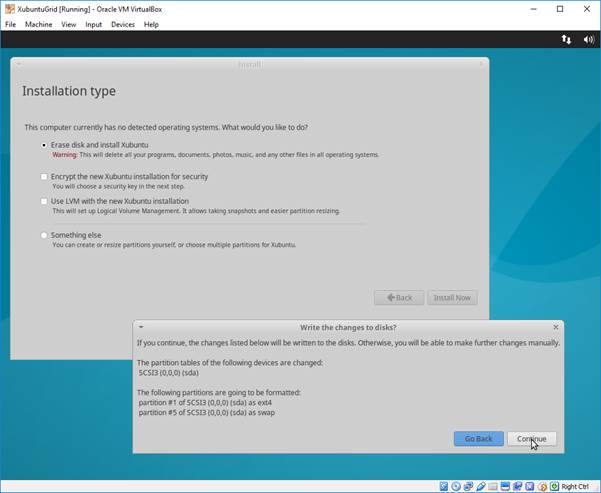
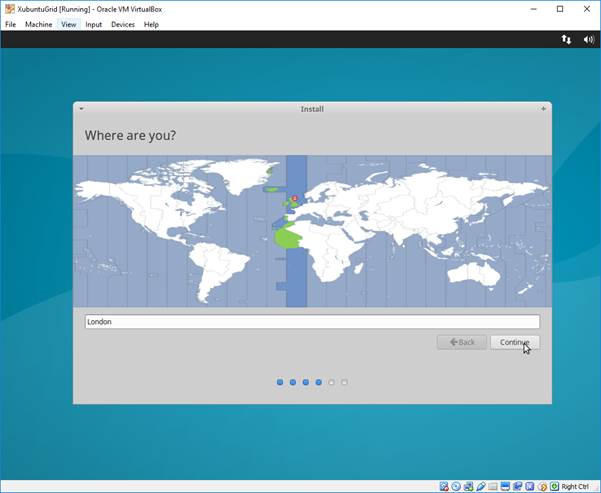
Fortunately installing Linux distributions is typically much easier than it was in the past. In most cases the default options suffice. While interacting with the VM your mouse pointer will be “captured” –confined within the bounds of the VMs display. If you need to escape this at any time, press the right control key on your keyboard.
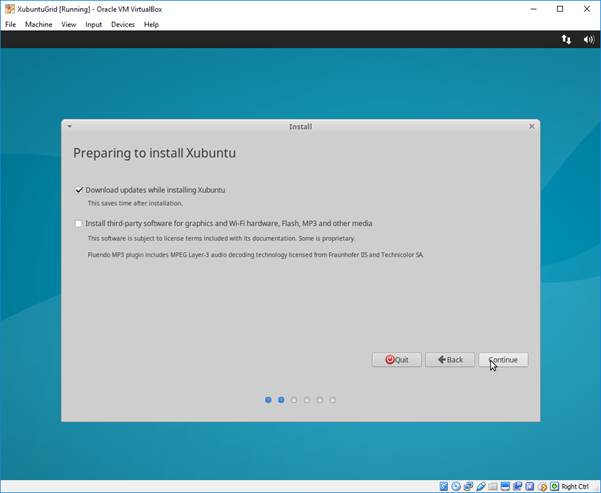
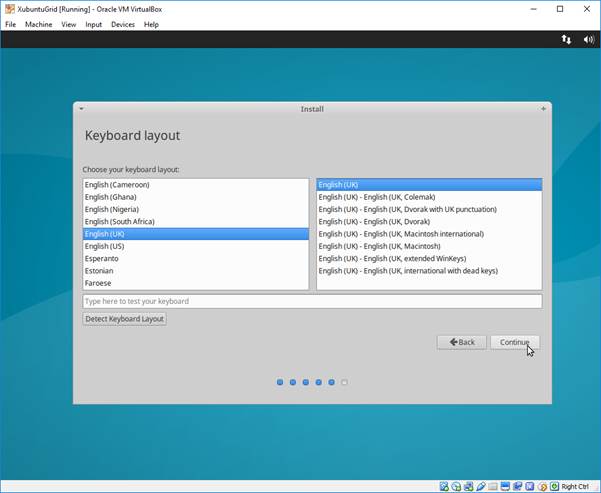
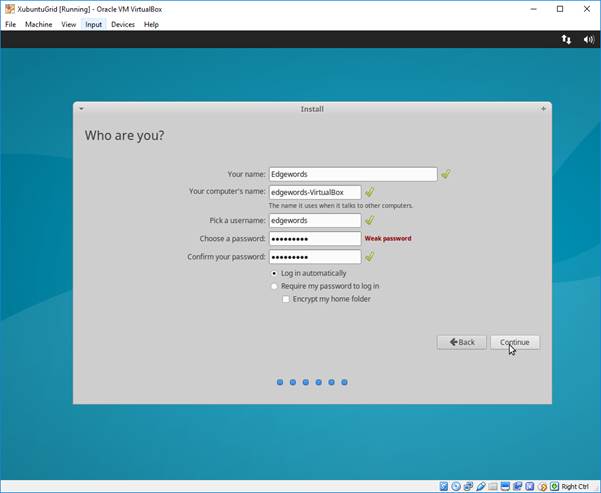
- When it comes to setting up a user, make sure you pick a password that you will remember. Additionally I have chosen to automatically log in as that user (skipping the sign in screen)
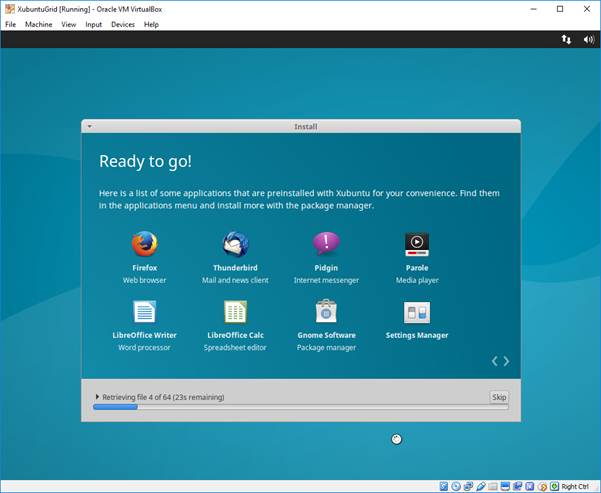
- With that all set it’s time to go and make a cup of tea/coffee as the system is installed
- Once installed you will be prompted to reboot the VM
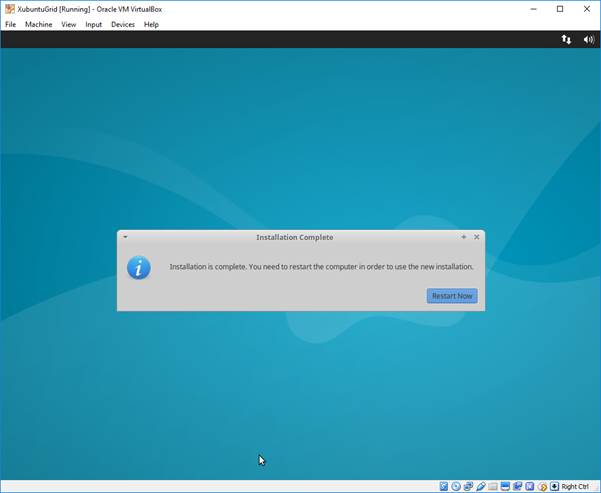
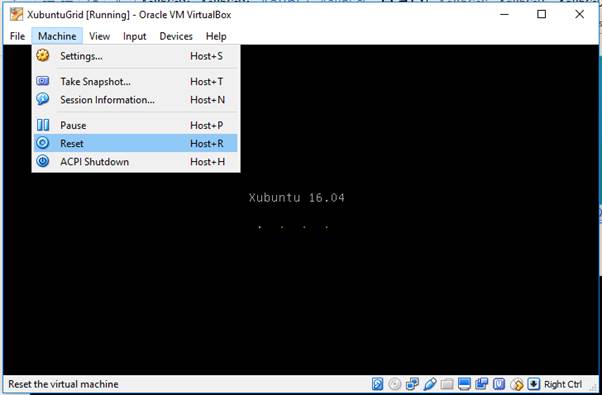
- If it gets stuck during shutdown feel free to reset (forcibly power off & on) the VM (if your mouse pointer has been captured preventing you accessing the menu, press the right Ctrl key)
Step 5 – Xubuntu Desktop first look
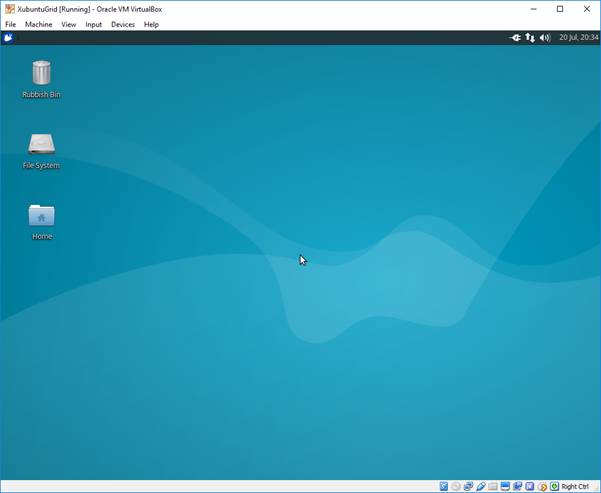
After the VM restarts you will be greeted by the Xubuntu desktop environment (called XFCE). By default the top panel contains a “Start” style button on the left, a task list, system tray and clock. Windows users should feel particularly at home as this setup pretty much mirrors the familiar default explorer desktop taskbar at the bottom.
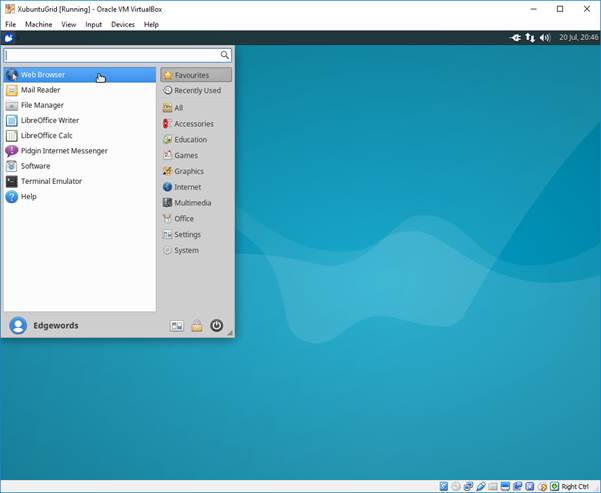
Xubuntu comes with a wide range of software installed by default, including the free office productivity suite LibreOffice. Software is categorised on the right of the Application Launcher menu. Much of it is entirely unnecessary for our purposes, but you do get a very functional system “out of the box”
Please see the follow up to this blog – Part 2
For more information regarding Selenium WebDriver, please see our:
[…] Home/Uncategorized/How to set up a Linux Virtual Machine for Selenium Grid – Part 2 Previous […]