In this Blog, we are going to show you how to create a pipeline in Azure DevOps (ADO) that:
- Fetches our Cypress automated tests from the project repository
- Logs in to Docker Hub
- Pulls & Runs our Docker image from Docker Hub, which is a web application (https://hub.docker.com/repository/docker/tomsk666/edge-training-site )
- Runs our Cypress Tests against the Web app running in a Docker Container
- Publishes the Test Results
Create a Project & Setup Docker Service Connection
In this example I have just created a Basic ADO project with Git as the repository (defaults).
The First step is to click on Project Settings link (bottom left), then in the Project Settings under the Pipelines category, select Service Connections.
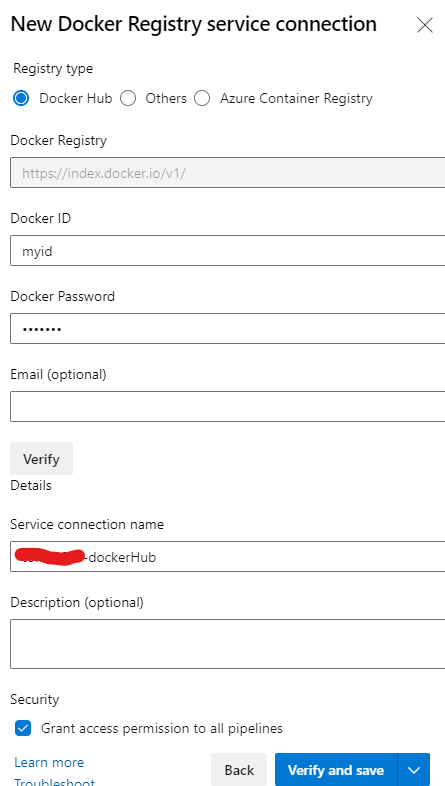
Click the New Service connection (top right) and choose Docker Registry.
Choose the appropriate registry (Docker Hub or could be a private ACR), in this case I am using Docker Hub, so I will need to enter my Docker Hub username & password.
Fill in the Service connection name (just a simple name for this connection, anything that makes sense to you).
Grant access to all pipelines in the project with the checkbox.
Click Verify & Save.
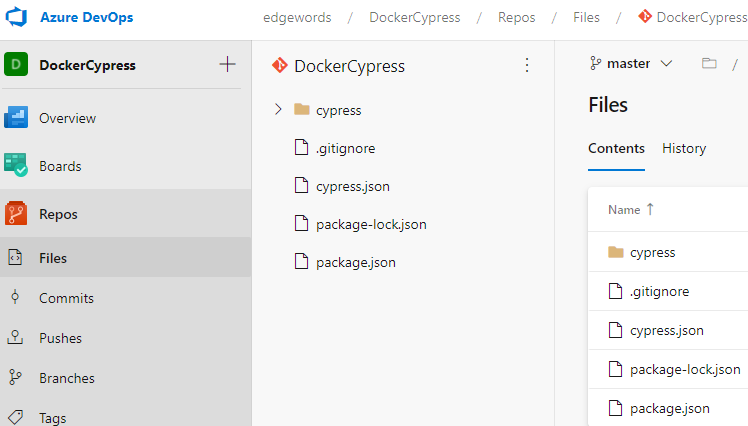
Push your automated tests to the Project Repository
In this example I am using a very simple Cypress project with just 2 tests in.
Here is the cypress.json config file:
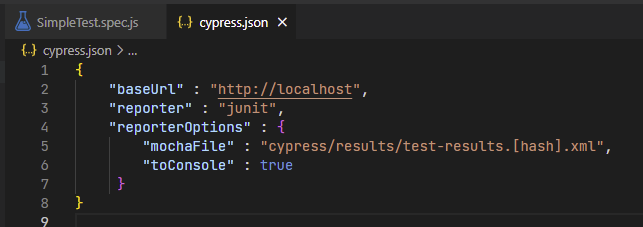
You can see we will run the tests against a web app on the localhost (as this will be our Docker Container). Also that we are creating some junit results, which ADO can publish.
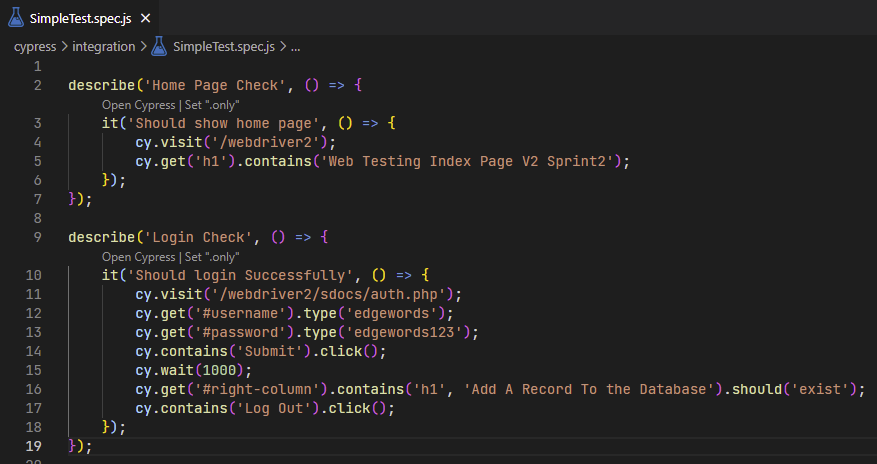
Here are the simple tests for our web app:
The tests have been put into Git locally, and then pushed up to our ADO project:
Pipeline
So we now have a basic project, we have setup a connection service to Docker Hub, and we have pushed our Cypress project to the ADO project repository. Now we are ready to create the pipeline.
In ADO, we select Pipelines, then click the New pipeline button (top right).
I’ve used the classic editor in this case (bottom link):

Then tell ADO where the automated tests are (in the project repo):
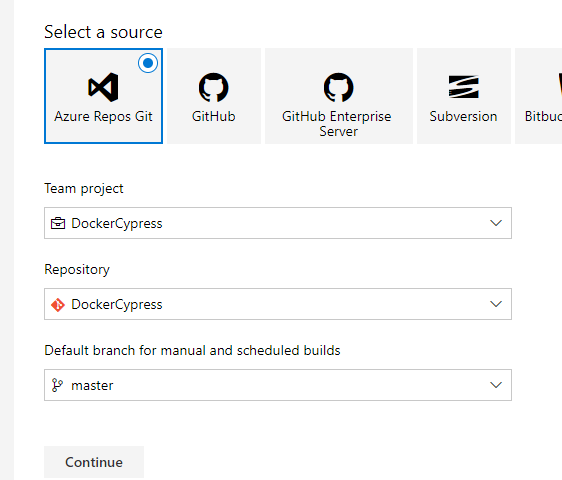
Select an empty project to start:

Pipeline Steps
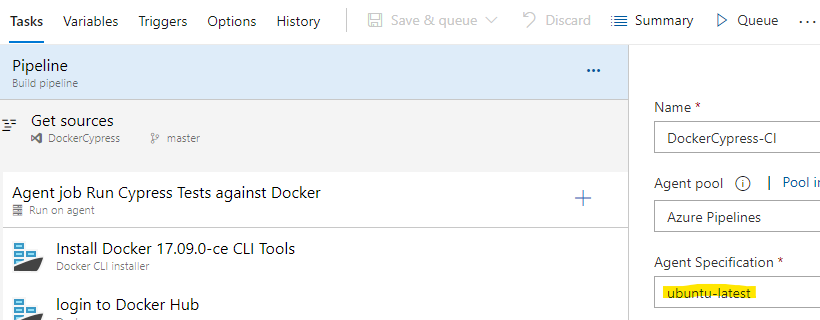
Agent Machine
For the pipeline agent, we will need to use a Linux agent. This is because the Docker Container that we will use is Linux based. So first step is choose agent:
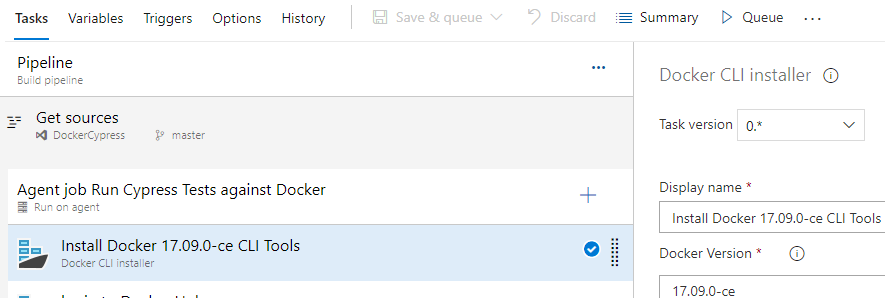
Install Docker CLI tools
Click the add tasks (+ button) and search for Docker. Add the Docker CLI Installer task:
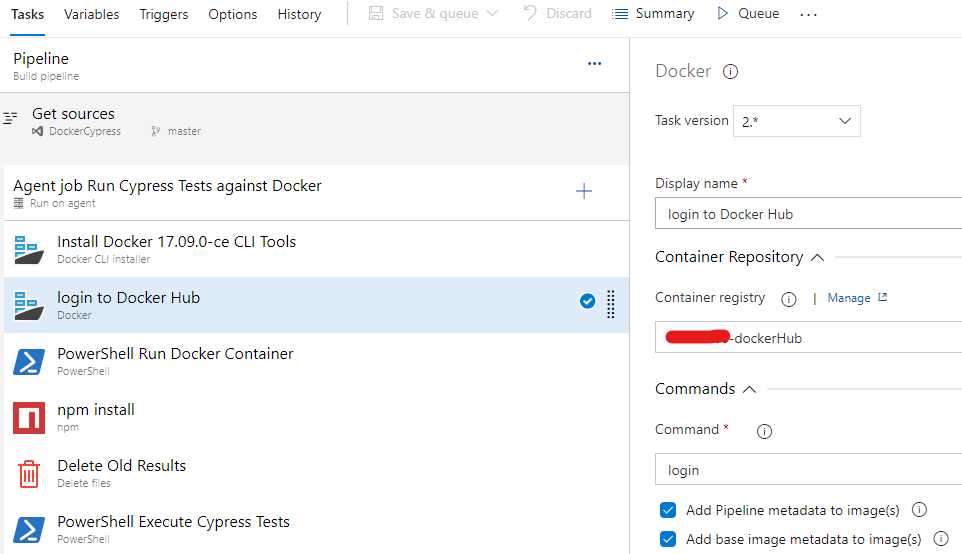
Login to Docker task
Add a task, search for Docker & add the Docker task.
From the Container registry drop-down, select the Docker connection service that you set up in the project settings at the beginning of this tutorial. Then choose Login as the command
Run the Docker Image (our Web App)
Add a power shell task to pull & run the Docker image:

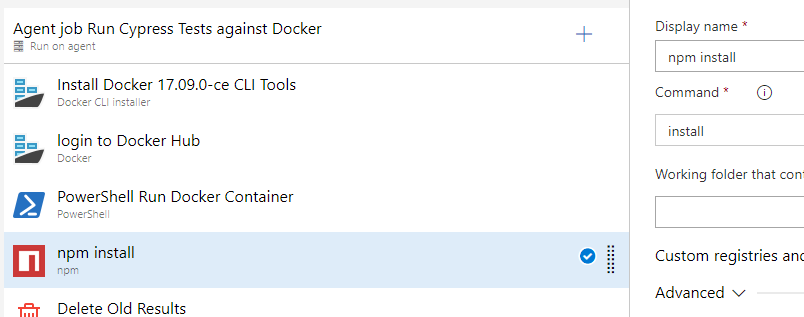
Install Cypress
As our Cypress code has already been pulled to the agent from the project repo, we can now run npm install to fetch all our dependencies such as Cypress node modules. Node & NPM are installed by default on the ADO supplied agents.
Add a task and search for npm
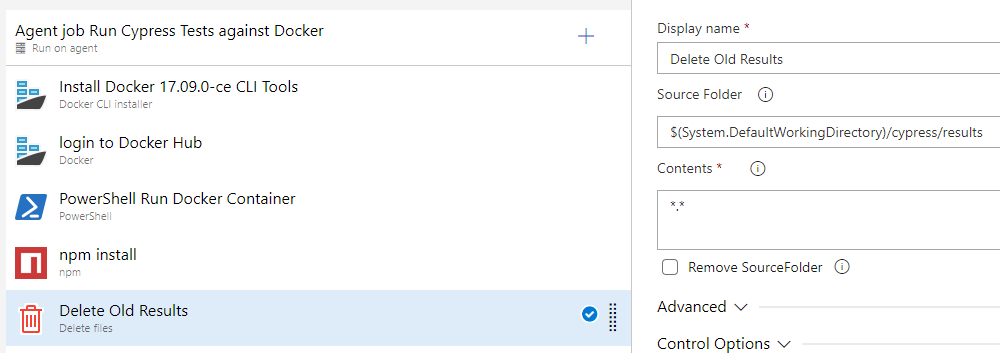
Delete any old results
Not necessary for this, but if we were going to run on an existing self-hosted agent, we would want to clear any old test results files, so we can do this with either a power shell task, or a delete files task:
Run Cypress Tests
Add another power shell task that will run the Cypress tests. Note that we enable ‘continue on error’ in case we get failed tests

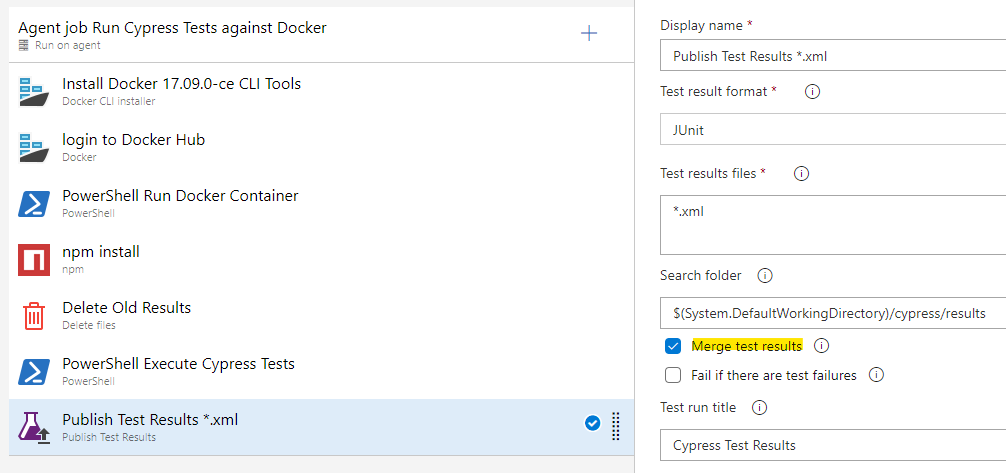
Publish Test Results
Add a task & search for Publish test results. Ensure you check the option to merge test results
Execute the Pipeline
Once you are happy, click the save & queue button and execute the pipeline.
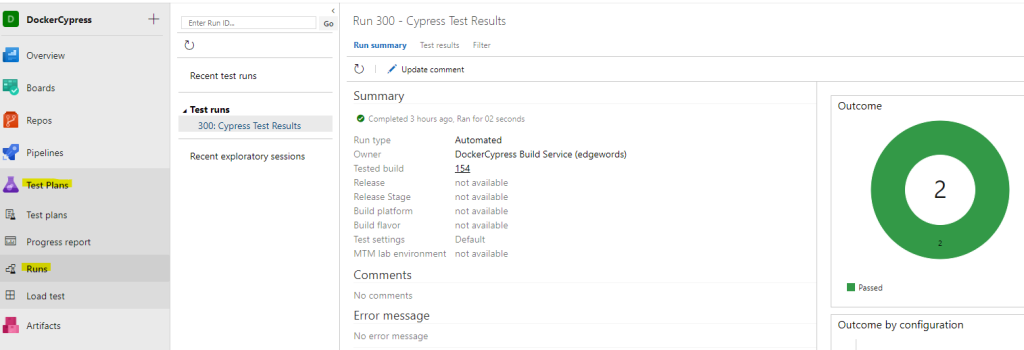
Once finished, the Test Results will be displayed in the Tests tab:

and also the Runs tab in the Test Plan section: