BDD using Ranorex, NUnit, POM in Visual Studio 2017
In this example, we are going to work through creating a BDD project in Visual Studio using SpecFlow and Ranorex. This is to show that we can do BDD using Ranorex, but as a draw back we don’t have access to Object Repositories. This could create a framework that is hard to maintain, so to counter this, I am going to demo how you create a Page Object Model (Similar to WebDriver) so Web Elements are only described once in our Project.
Requirements
- Ranorex 8
- Visual Studio 2017 (VS)
- NUnit VS extension (optional)
- SpecFlow VS extension
Set up
Extensions
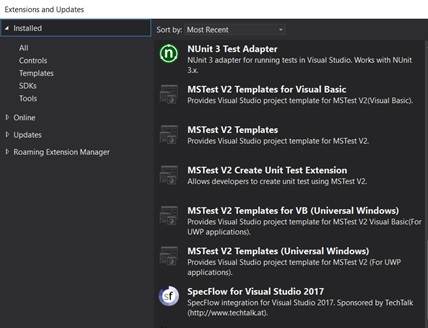
There are two Visual Studio extensions I’m going to use – NUnit & SpecFlow
VS menu – Tools->Updates & Extensions… menu, click on online and search for NUnit 3 Test Adapter and install, optionally you could install the NUnit Templates as well if you like
Now do the same for SpecFlow
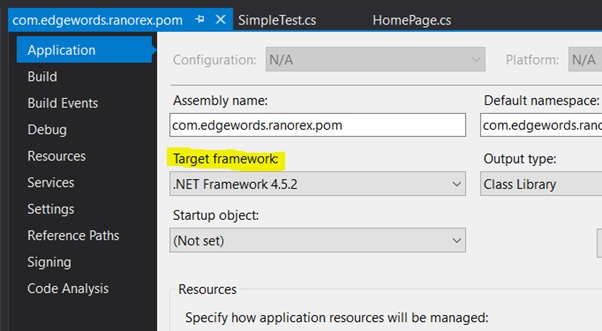
Project Build Target
You need to set the project build target to .NET 4.5 or higher for the Ranorex API.
VS menu, Project-><Project Name> Properties…
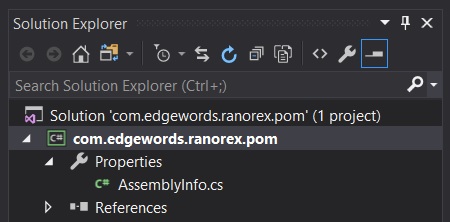
Single Thread Application Setting
Ranorex Tests have to be run as single threaded applications, which we have to tell .NET
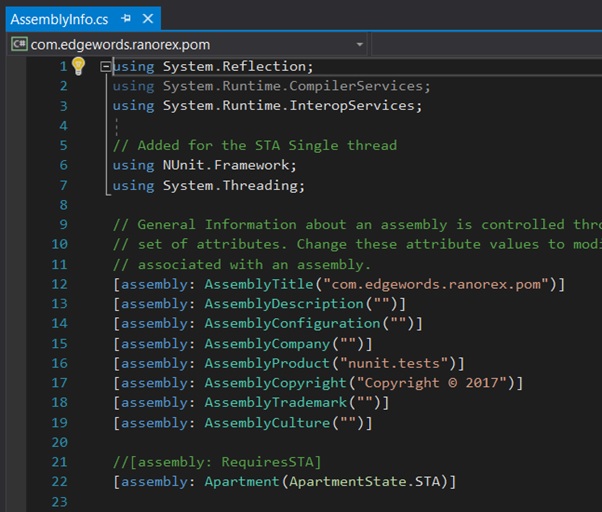
In the Solution Explorer, expand the Properties section and open the AssemblyInfo.cs
Add the Using statements and STA statement as below:
Import Libraries
Right Click on the References section in the Project Explorer and choose References…
Add the following Framework assemblies:
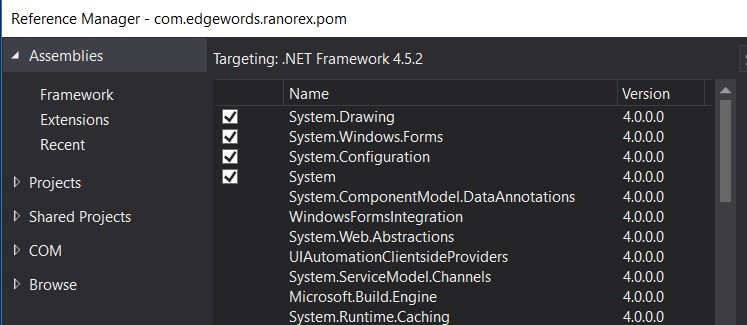
We need System.Drawing and System.Windows.Forms for the Ranorex API, and we need System.Configuration for creating some Global Parameters as you will see later
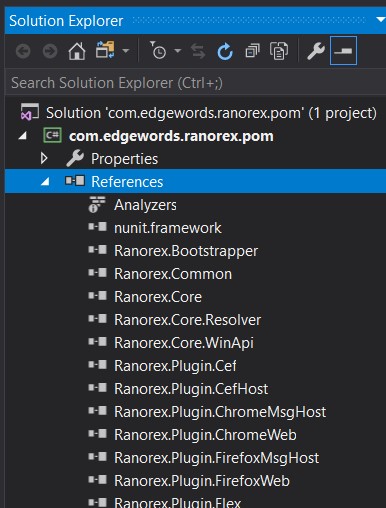
In the same references manager, now click the Browse section, then click the browse… button and navigate to the Ranorex install directory, for example, C:\Program Files (x86)\Ranorex 8.0\Bin
You need to add the following DLLs:
Ranorex.Bootstrapper, Ranorex.Common, Ranorex.Core, Ranorex.Core.Resolver, Ranorex.Core.WinAPI and all the Ranorex.Plugin libraries
Now we need to add NUnit & SpecFlow libraries, which we can do using the NuGet Manager.
Right-click your References and choose Manage NuGet Packages, Click browse and search for NUnit.
Install NUnit, and NUnit.Console (if you wish to run tests from the command line)
Now search for SpecFlow and add the SpecFlow reference as above.
Global Parameters
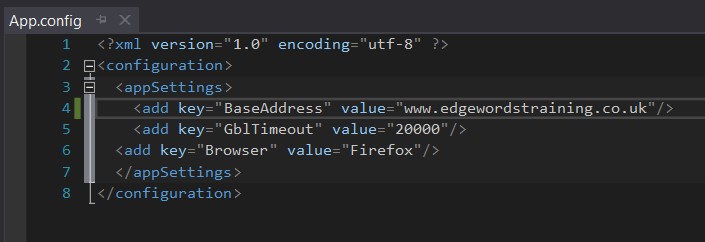
We would like to store some values globally such as the web domain we will be testing, which browser we would like to use and also any timeouts for finding Web Elements.
This will reduce maintenance of tests, as if we want to run the suite against a different browser, we simply update the browser name in the App.config file
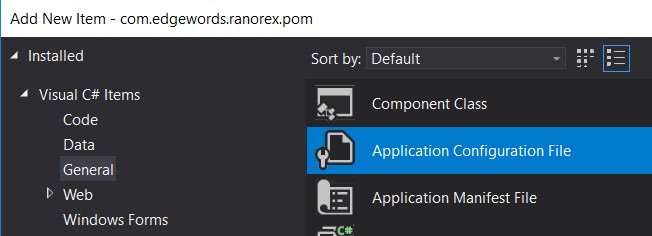
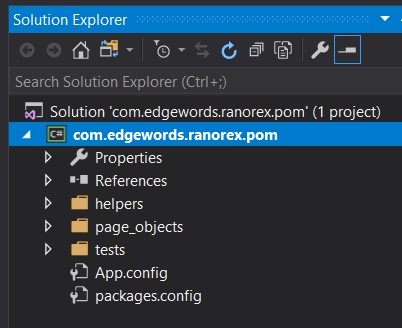
To do this we will use a config file. Add a new item to your project General->Application Configuration File
Open it and add the following code:
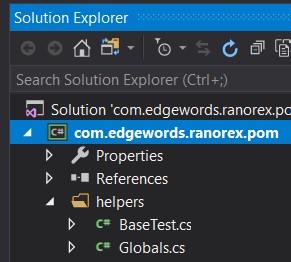
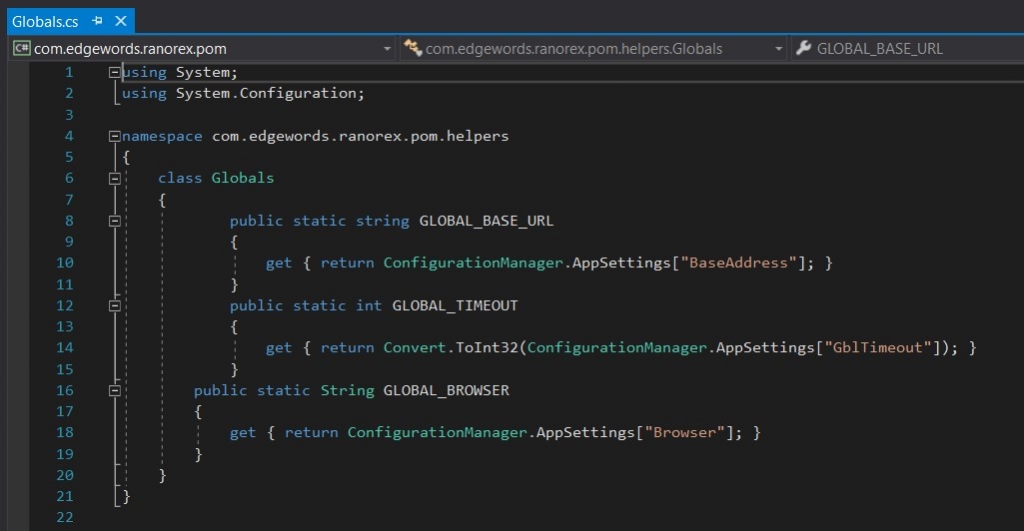
Now to access these values from the file, we will create an object class. Add a new folder to the project, call it helpers, then in the folder, add a new class to the project called Globals:
Open the Globals.cs Class and add the following code:
OK, that’s all the set up done, let’s move on to part 2